Set Up Manually
Download and Import the Navigation SDK
Download the SDK from the official website. select a custom download to get a combined package that includes additional SDKs as needed, such as "Navigation + Map + Location" or "Navigation + Map + Search".
After extracting the downloaded ZIP archive, you will find a combined JAR file and SO files for multiple CPU architectures (including armeabi-v7a, arm64-v8a, and x86).
Step 1: Add the JAR File
1. Open Android Studio and switch to the Project view.
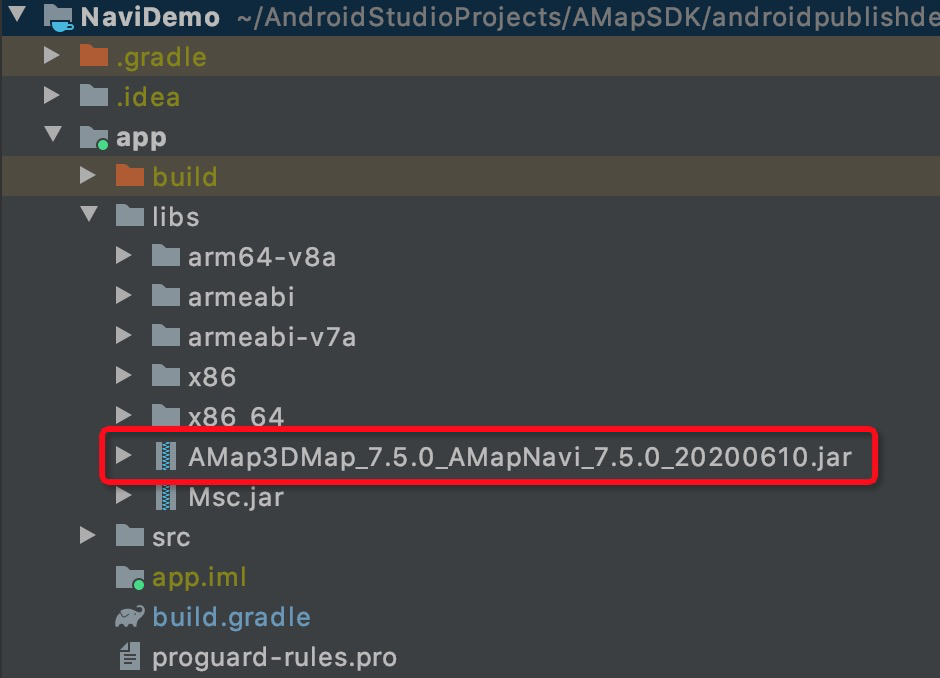
2. Copy the navigation JAR file to the libs directory. The following screenshot uses the official demo as an example:
Step 2: Add the SO Libraries
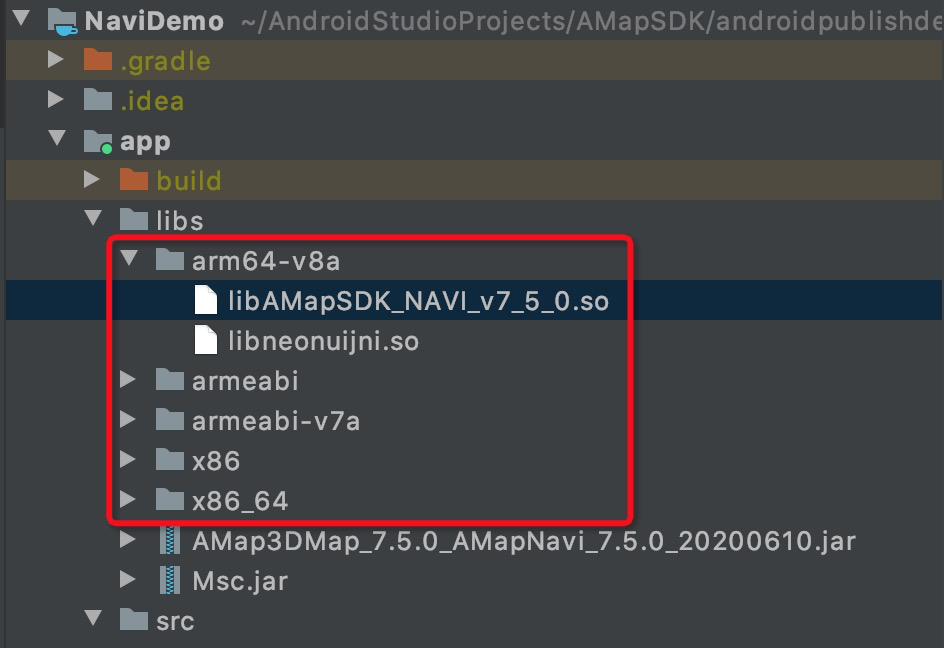
1. Copy the extracted folders for each CPU architecture into the libs directory. If these directories already exist, copy the downloaded SO files into the corresponding folders:
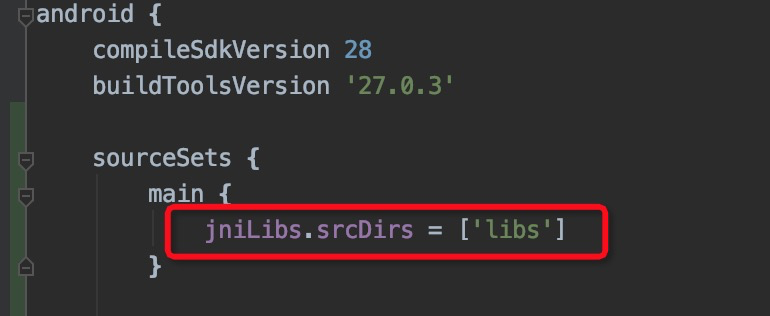
2. Open the build.gradle file for your app module. Locate the sourceSets block and add the following configuration: