
Set Up with Maven
This guide explains how to integrate the AMAP Navigation SDK into your Android project using Maven.
Before You Begin
Before you start, ensure you have an Android project open in Android Studio.
Step 1: Configure the Repository
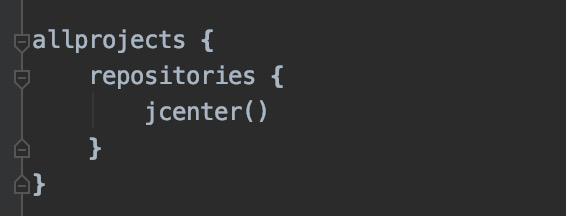
In your project-level build.gradle file, add the Maven or JCenter repository URL to the repositories block.
Android Studio typically adds the JCenter repository by default for all modules. If it is already present, you do not need to add it again.
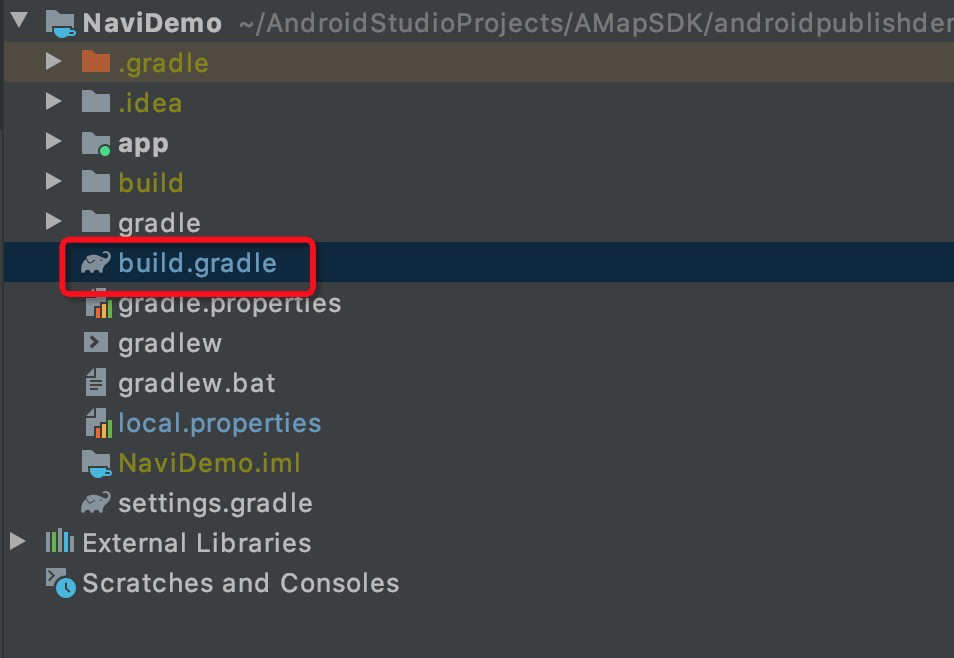
The project-level build.gradle file is located in the root directory of your project, as shown below:
The configuration should look similar to the following:
Step 2: Add the SDK Dependency
In your app-level build.gradle file, add the dependency for the navigation SDK.
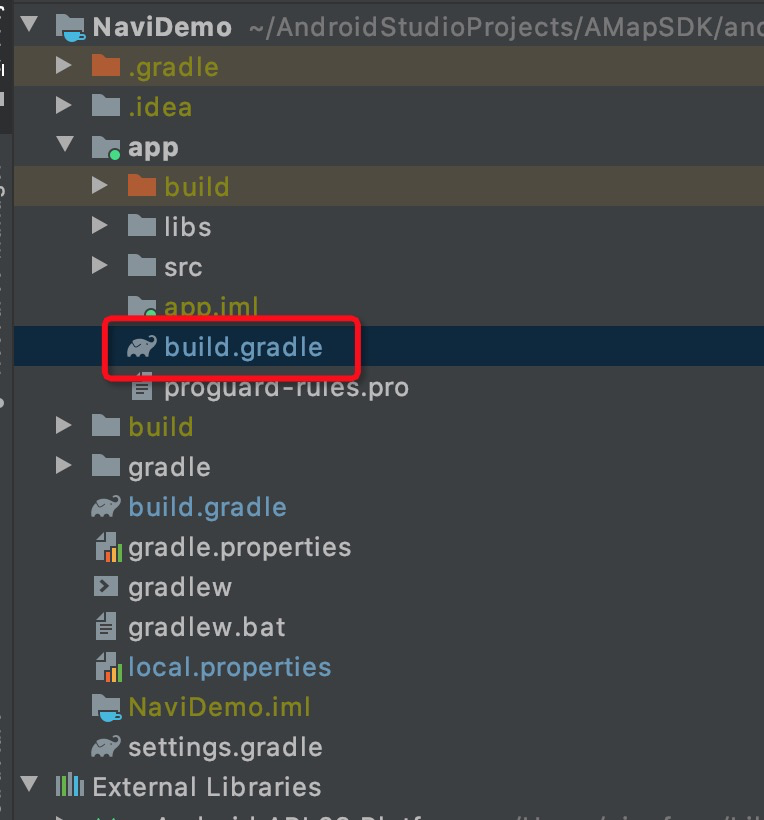
The app-level build.gradle file is located in your app module directory, as shown below:
Add the following dependency to the dependencies block:
dependencies {
    implementation 'com.amap.api:navi-3dmap:latest.integration'
}
Optional: Add Other SDKs
You can also add other AMAP SDKs based on your project's requirements. The following table lists the available SDKs and their corresponding dependency declarations:
Note: Using latest.integration is recommended as it always pulls the most recent version of the SDK.
Using a Specific SDK Version
If you need to use a specific version of the SDK (all version numbers correspond to official releases), specify the version number in the dependency declaration. For example:
dependencies {
    implementation 'com.amap.api:navi-3dmap:7.4.0_3dmap7.4.0'
}
What's Next
After adding the dependency, sync your project with Gradle files. The SDK is now ready to be used in your application.